


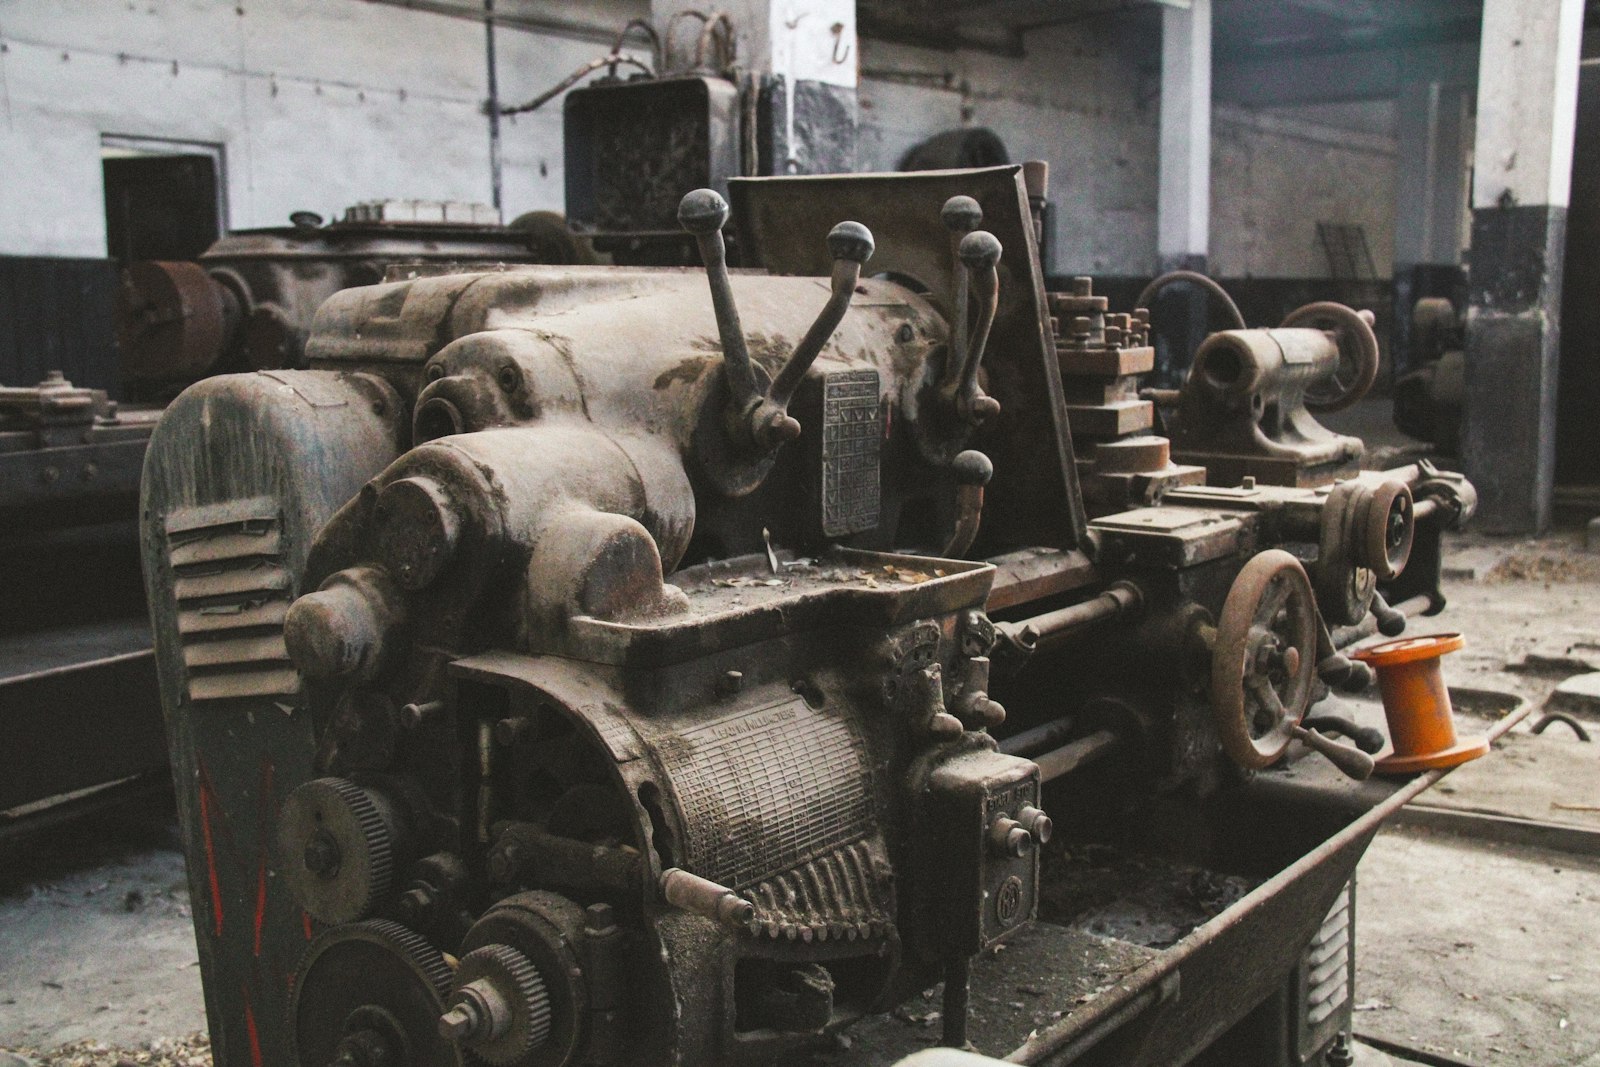
What to Do When an Industrial Part Breaks and You Can't Buy It Anywhere
Sooner or later, every factory runs into the same problem: an assembly or part breaks down, the original manufacturer no longer produces it, no drawings exist, and machine downtime costs far more than the part itself. In these cases, the solution is reverse engineering based on precise 3D scanning.
How the recreation process works
- 3D scanning. The broken or worn part is scanned with a precise 3D scanner to capture its exact geometry as a point cloud.
- Model recreation (reverse engineering). From the scan data, an editable CAD model is created, in which worn or broken features can be corrected to restore the original geometry.
- Material and technology selection. Depending on the load and operating conditions, the most suitable material is chosen – from engineering plastic to metal.
- Production. The part is manufactured using 3D printing or, if needed, CNC machining – depending on the required precision and quantity.
Why choose this approach
The biggest advantage is speed and independence from the original supplier. When there are no drawings, and buying an entirely new assembly isn't reasonable, reverse engineering lets you recreate the exact same part – or even improve it by reinforcing weak points. This is especially relevant for older industrial equipment, specialized machinery, or unique mechanisms.
When this method is a good fit
- When the original part is discontinued or delivery would take weeks or months.
- When no drawings or technical documentation have survived.
- When only one or a few units are needed, making a new mold not worthwhile.
- When you want to improve the part – changing the material or reinforcing the design.
For more on industrial applications, see our article "3D Scanning and Reverse Engineering in the Automotive, Marine, Furniture, and Mechanical Engineering Industries".
An individual assessment
Send us photos and a description of the broken part through our order form – we'll assess whether it can be recreated and propose a solution.

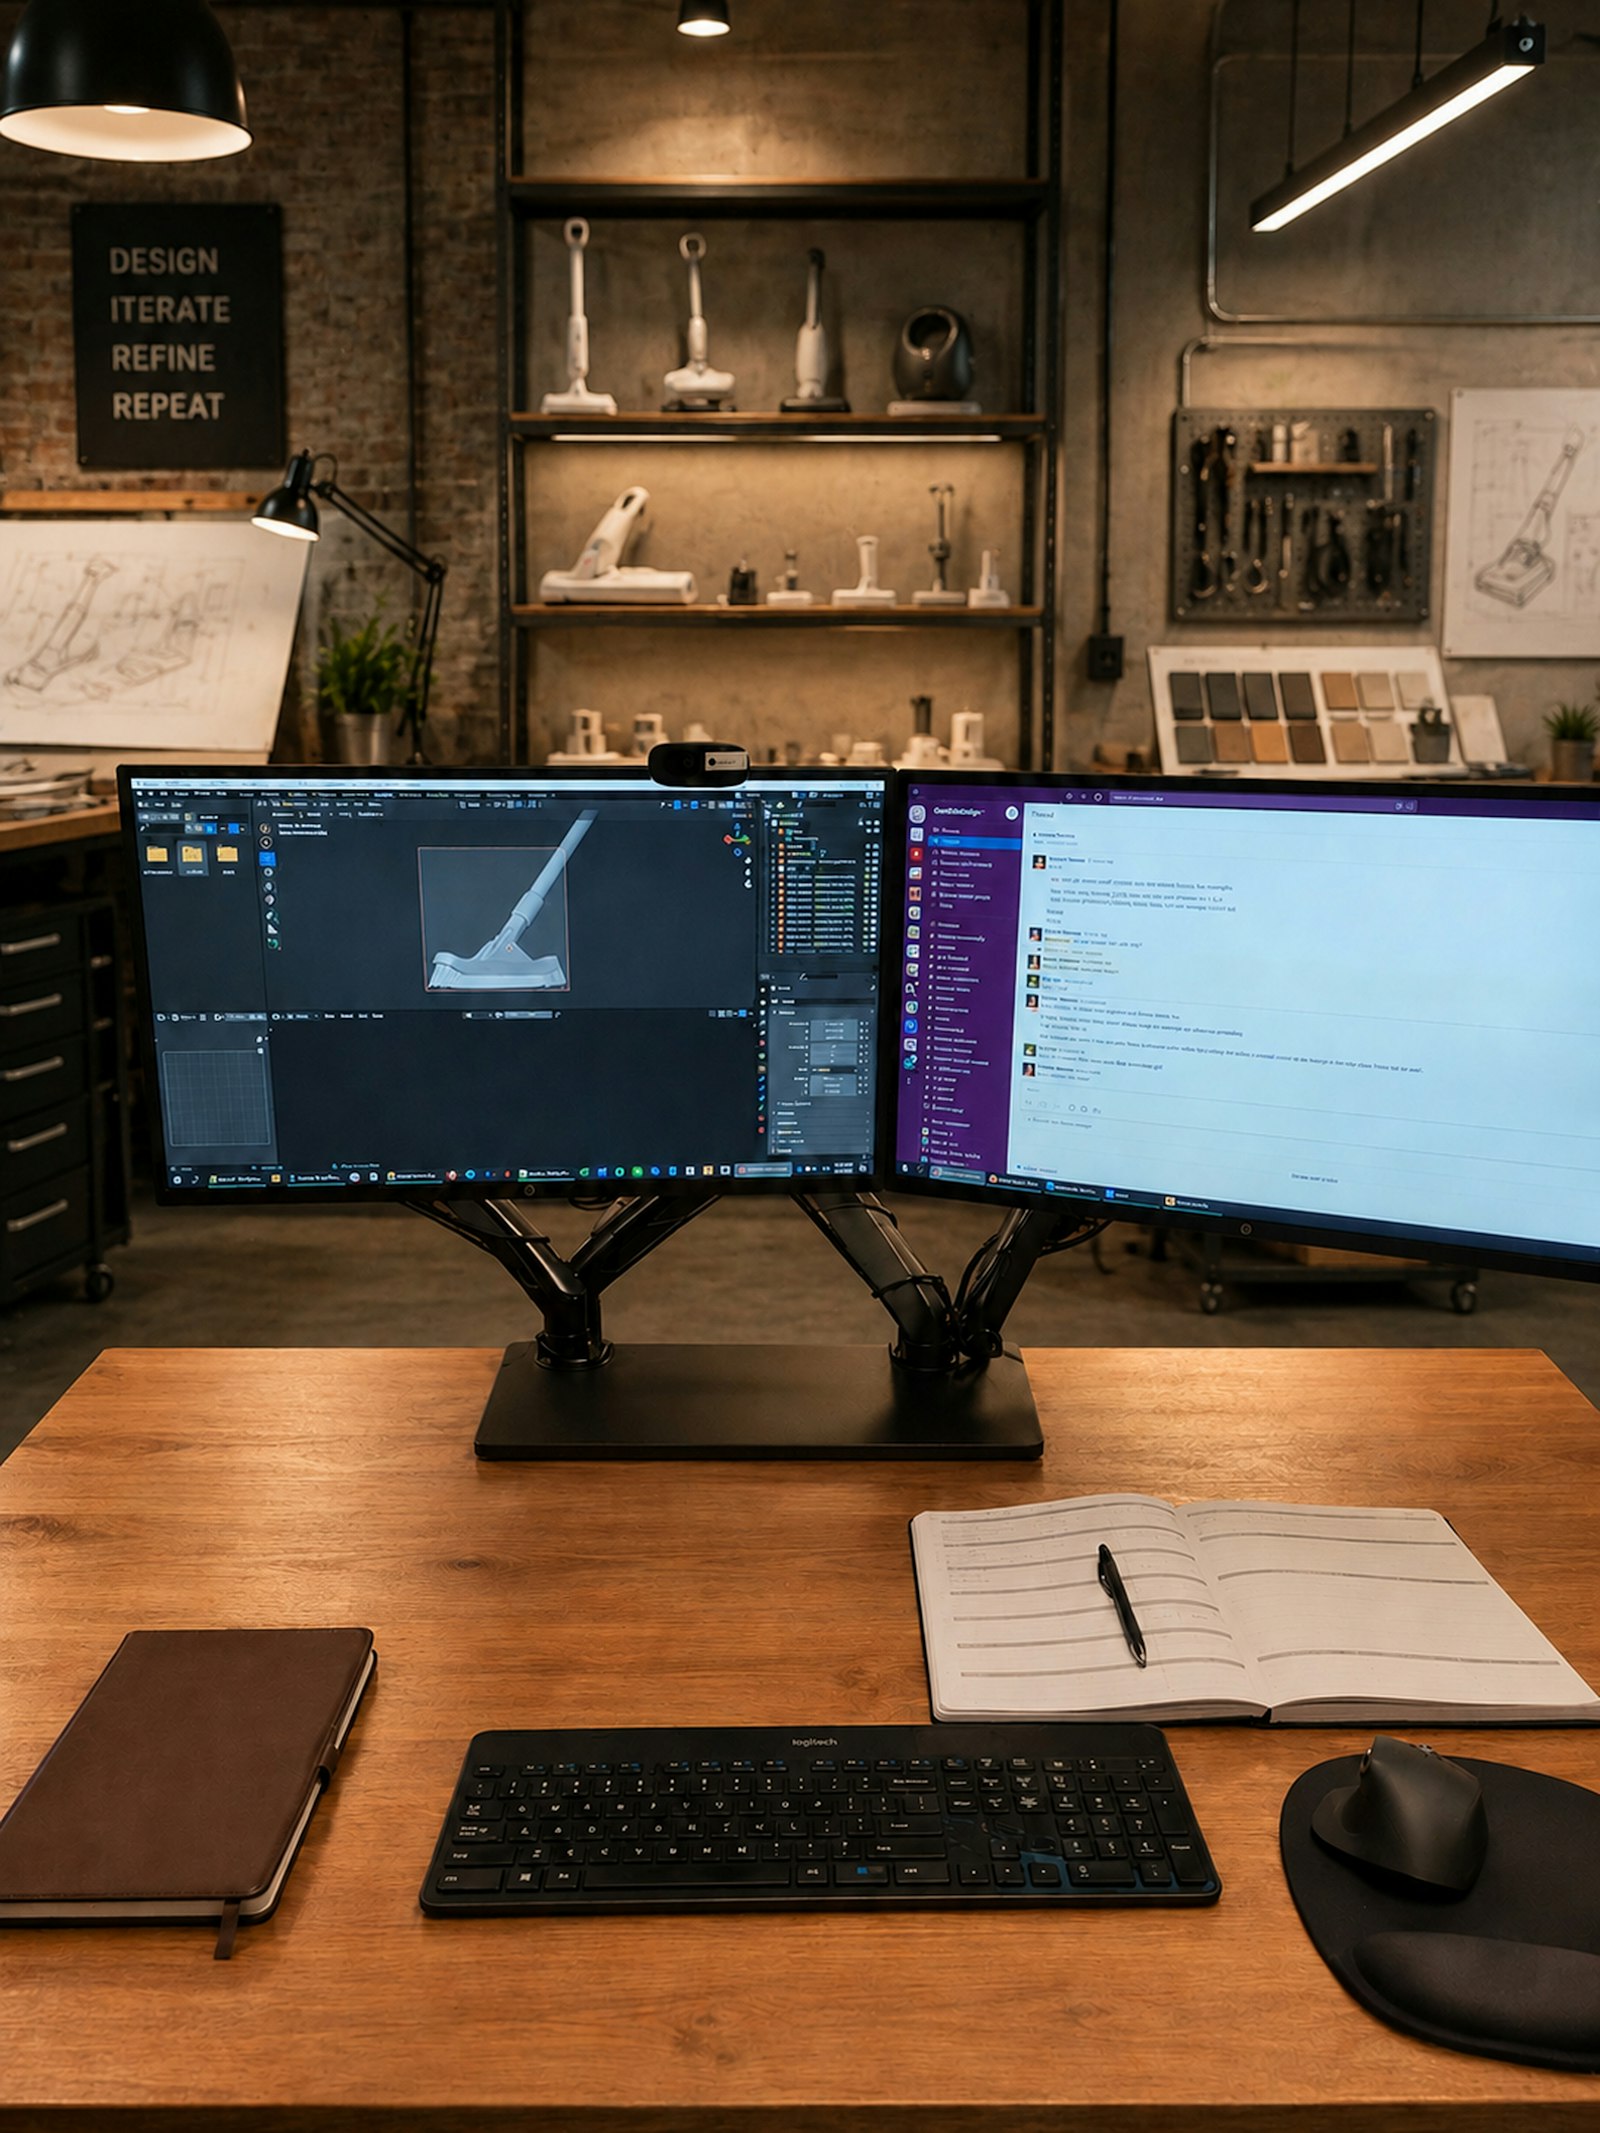
How to Prepare a 3D Model for Printing: Common Mistakes
Even a technically accurate 3D model can cause problems during printing if it hasn't been properly prepared. Most delays and extra costs arise not from the printing technology itself, but from model errors that could have been spotted and fixed before the file was ever sent to production.
The most common model mistakes
- A non-watertight mesh. Holes or gaps in the surface prevent the software from correctly calculating the model's volume and slicing it into layers.
- Overlapping or flipped normals. This can cause the slicing software to misinterpret which side of the surface is the model's interior and which is the exterior.
- Walls that are too thin. Every technology and material has a minimum wall thickness – exceed it, and a feature may fail during printing or break in use.
- Insufficient support planning. Large overhangs without adequate support can deform or fail to print properly.
- Incorrect dimensions or scale. Wrong units (mm vs. inches) are one of the most common reasons a finished part turns out the wrong size.
- Excessive polygon count or file size. An unnecessarily dense mesh lengthens processing time and can complicate slicing.
How to avoid these mistakes
Before sending a model for printing, it's worth checking the geometry's integrity with dedicated software, verifying wall thickness against the chosen material and technology, and thinking ahead about the part's orientation on the printer – this affects both the amount of support needed and the surface quality.
What we do
Once we receive your 3D model, we always check its suitability for the chosen technology before printing and, if needed, suggest fixes or optimizations – both for print reliability and for the final price. If you don't yet have a model, or need to recreate one from an existing part, we can do that through 3D scanning.
A project tailored to you
Send us your 3D model through our order form – we'll assess its suitability for printing and provide a quote.
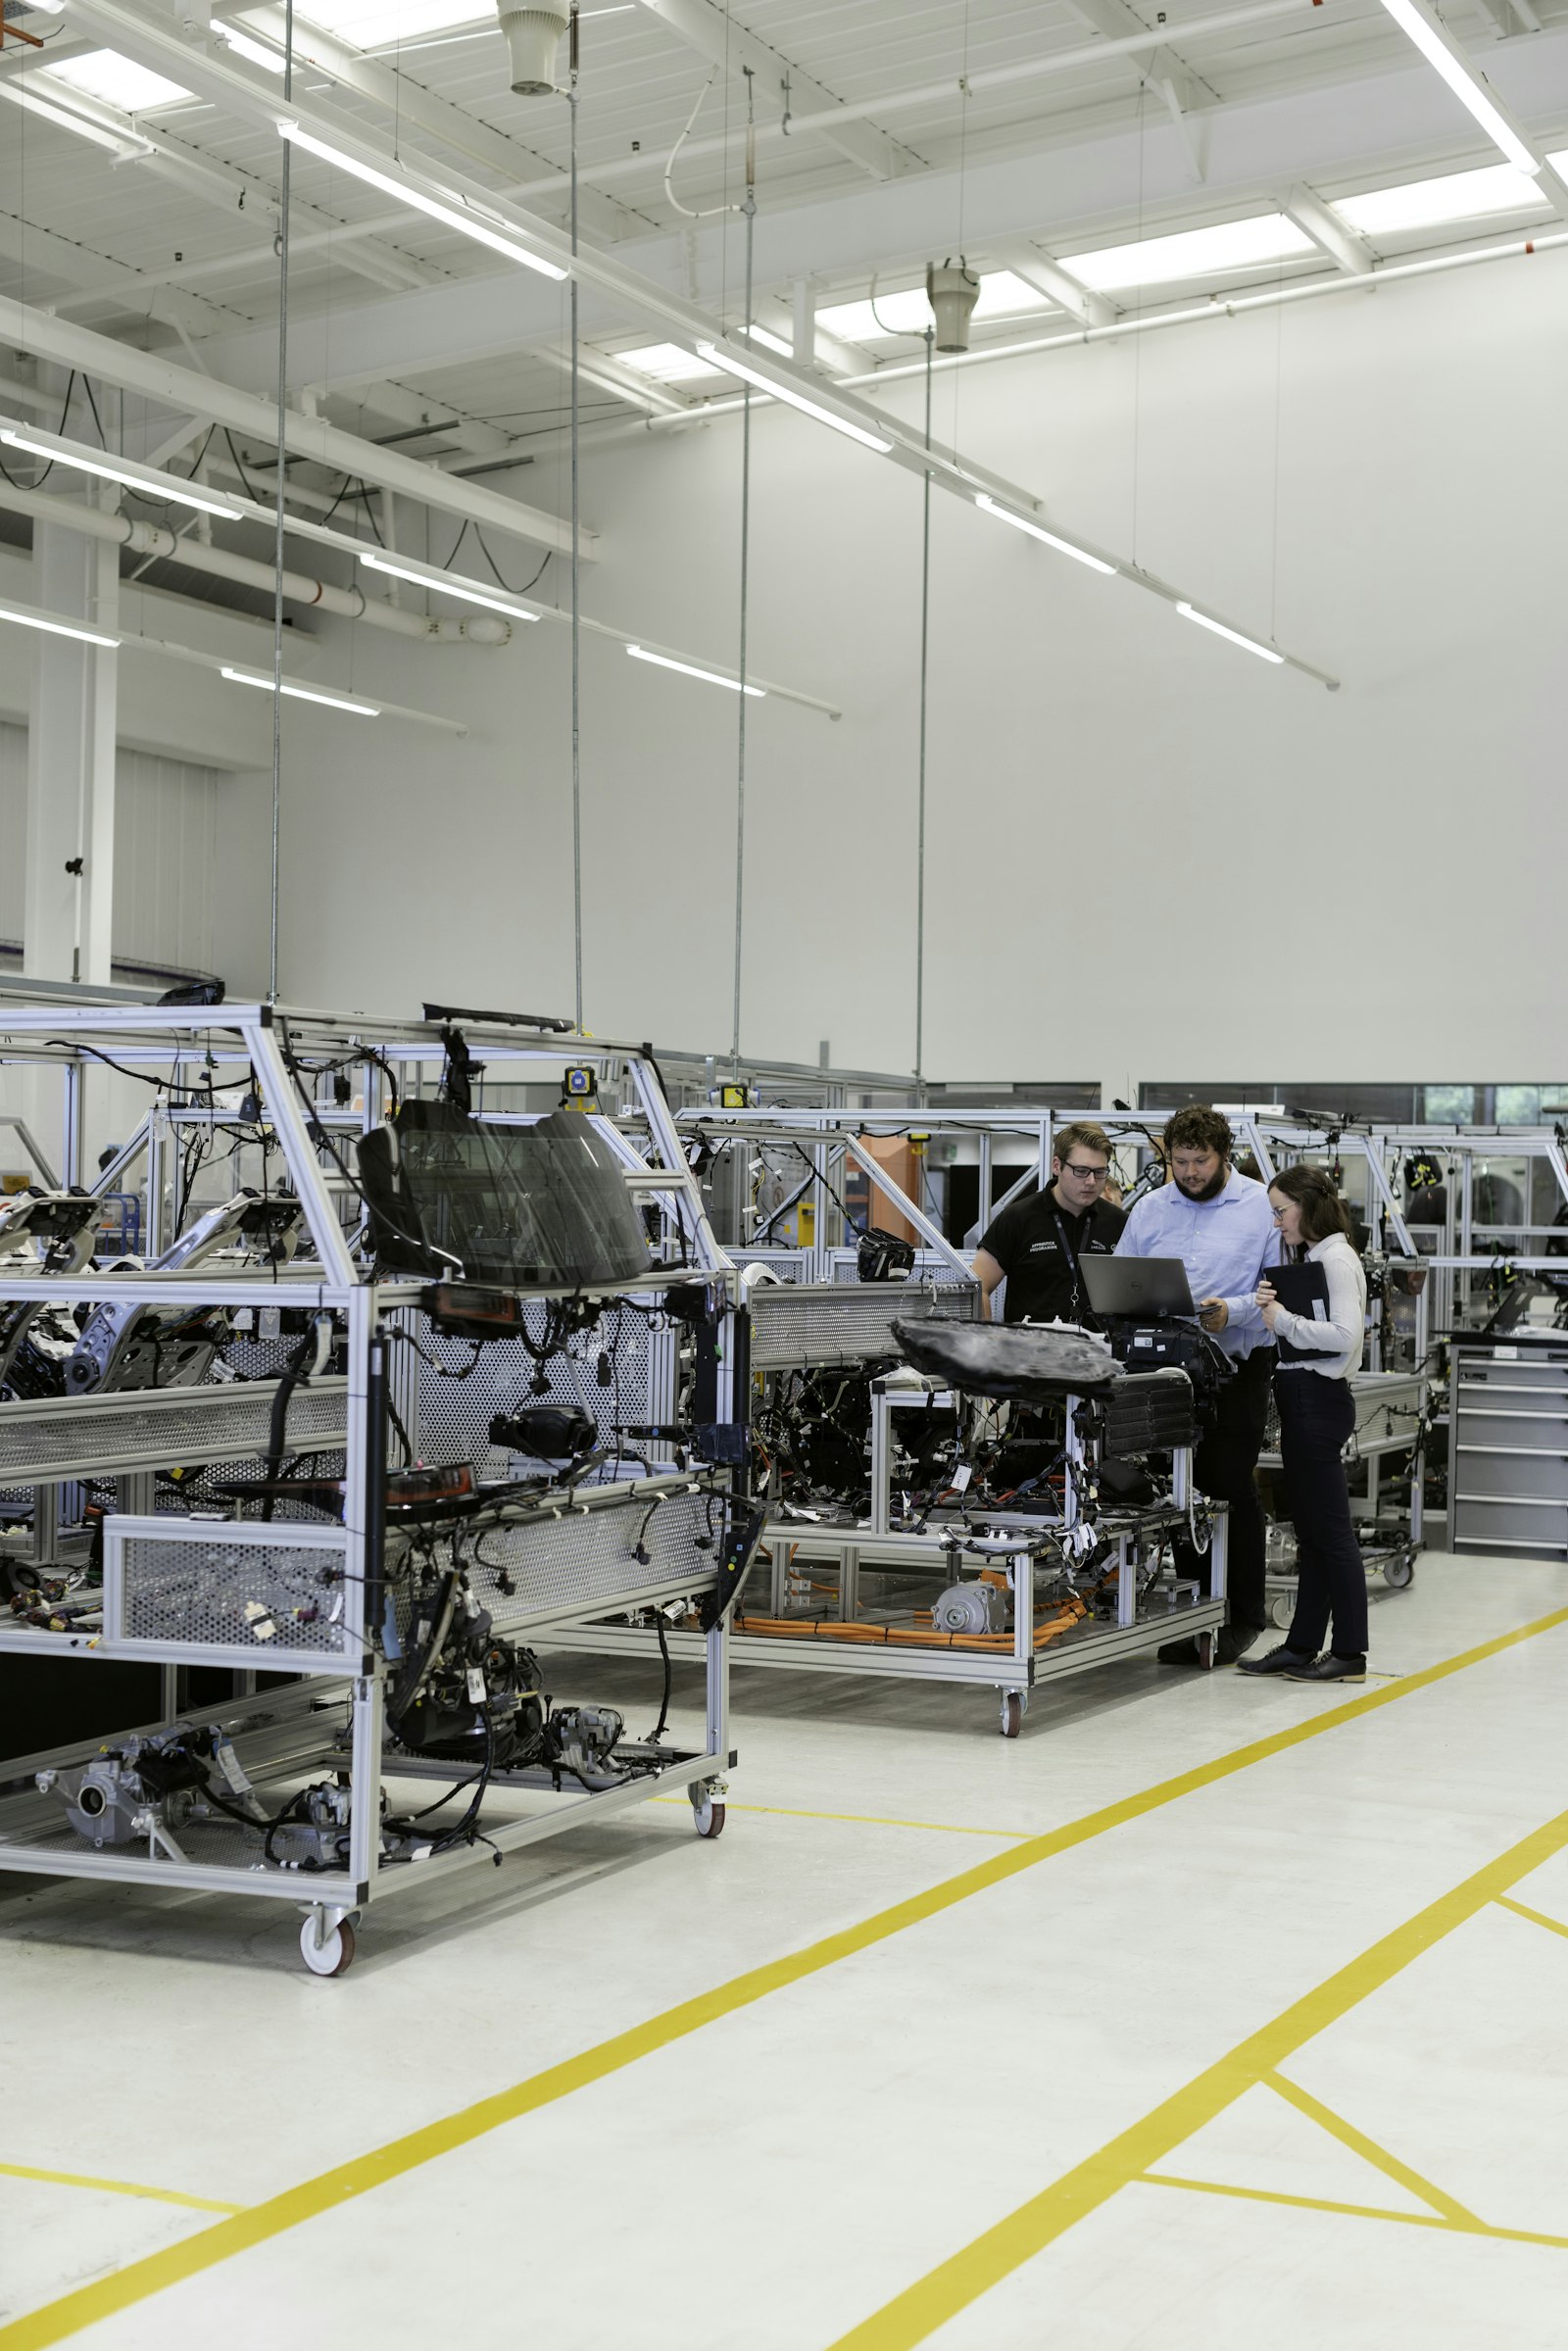
Small-Batch Production Without Injection Molds: When It Pays Off
Traditional injection molding only becomes economically viable when producing large batches – a mold can cost anywhere from a few thousand to tens of thousands of euros, and making one can take weeks. When you only need a few dozen or a few hundred units, that investment often doesn't pay off. 3D printing allows small batches to be produced without molds – parts are printed directly from a digital model.
When mold-free small-batch production pays off
- Quantities from a single unit to a few thousand. The smaller the batch, the greater the impact of the mold cost on the per-unit price – with 3D printing, the per-unit cost changes far less.
- The product is still being refined. If the design might change after the first batch, a mold becomes an expensive and risky investment – a 3D model can be modified and reprinted within hours.
- Seasonal or limited demand. When a product is made for a single season, event, or limited-run collection, the mold investment usually doesn't pay for itself.
- You need it here and now. Making a mold takes several months – it can easily be 6 months or more from order to first batch. With 3D printing, you can have the first parts in hand within days.
- Complex geometry is required. Internal cavities, lattice structures, or complex shapes that are difficult or costly to mold are not a problem for 3D printing.
When injection molding is the better choice
When a batch reaches tens of thousands of units and the design is finalized, injection molding usually becomes cheaper per unit and allows a wider range of materials. The decision should be based not only on the per-unit price but also on the total investment, timeline, and the likelihood that the design will still change.
Technologies used for small batches
Depending on requirements, we use SLM, SLS, MJF, FDM, or SLA technologies for small-batch production – covering both plastic and metal parts, and allowing consistent-quality parts to be made without additional tooling costs.
An individual assessment
We can only tell you precisely whether 3D printing or injection molding makes sense for your project once we've reviewed your specific quantity, material, and part geometry. Send us your model and the required quantity through our order form – we'll provide a comparison and a quote.
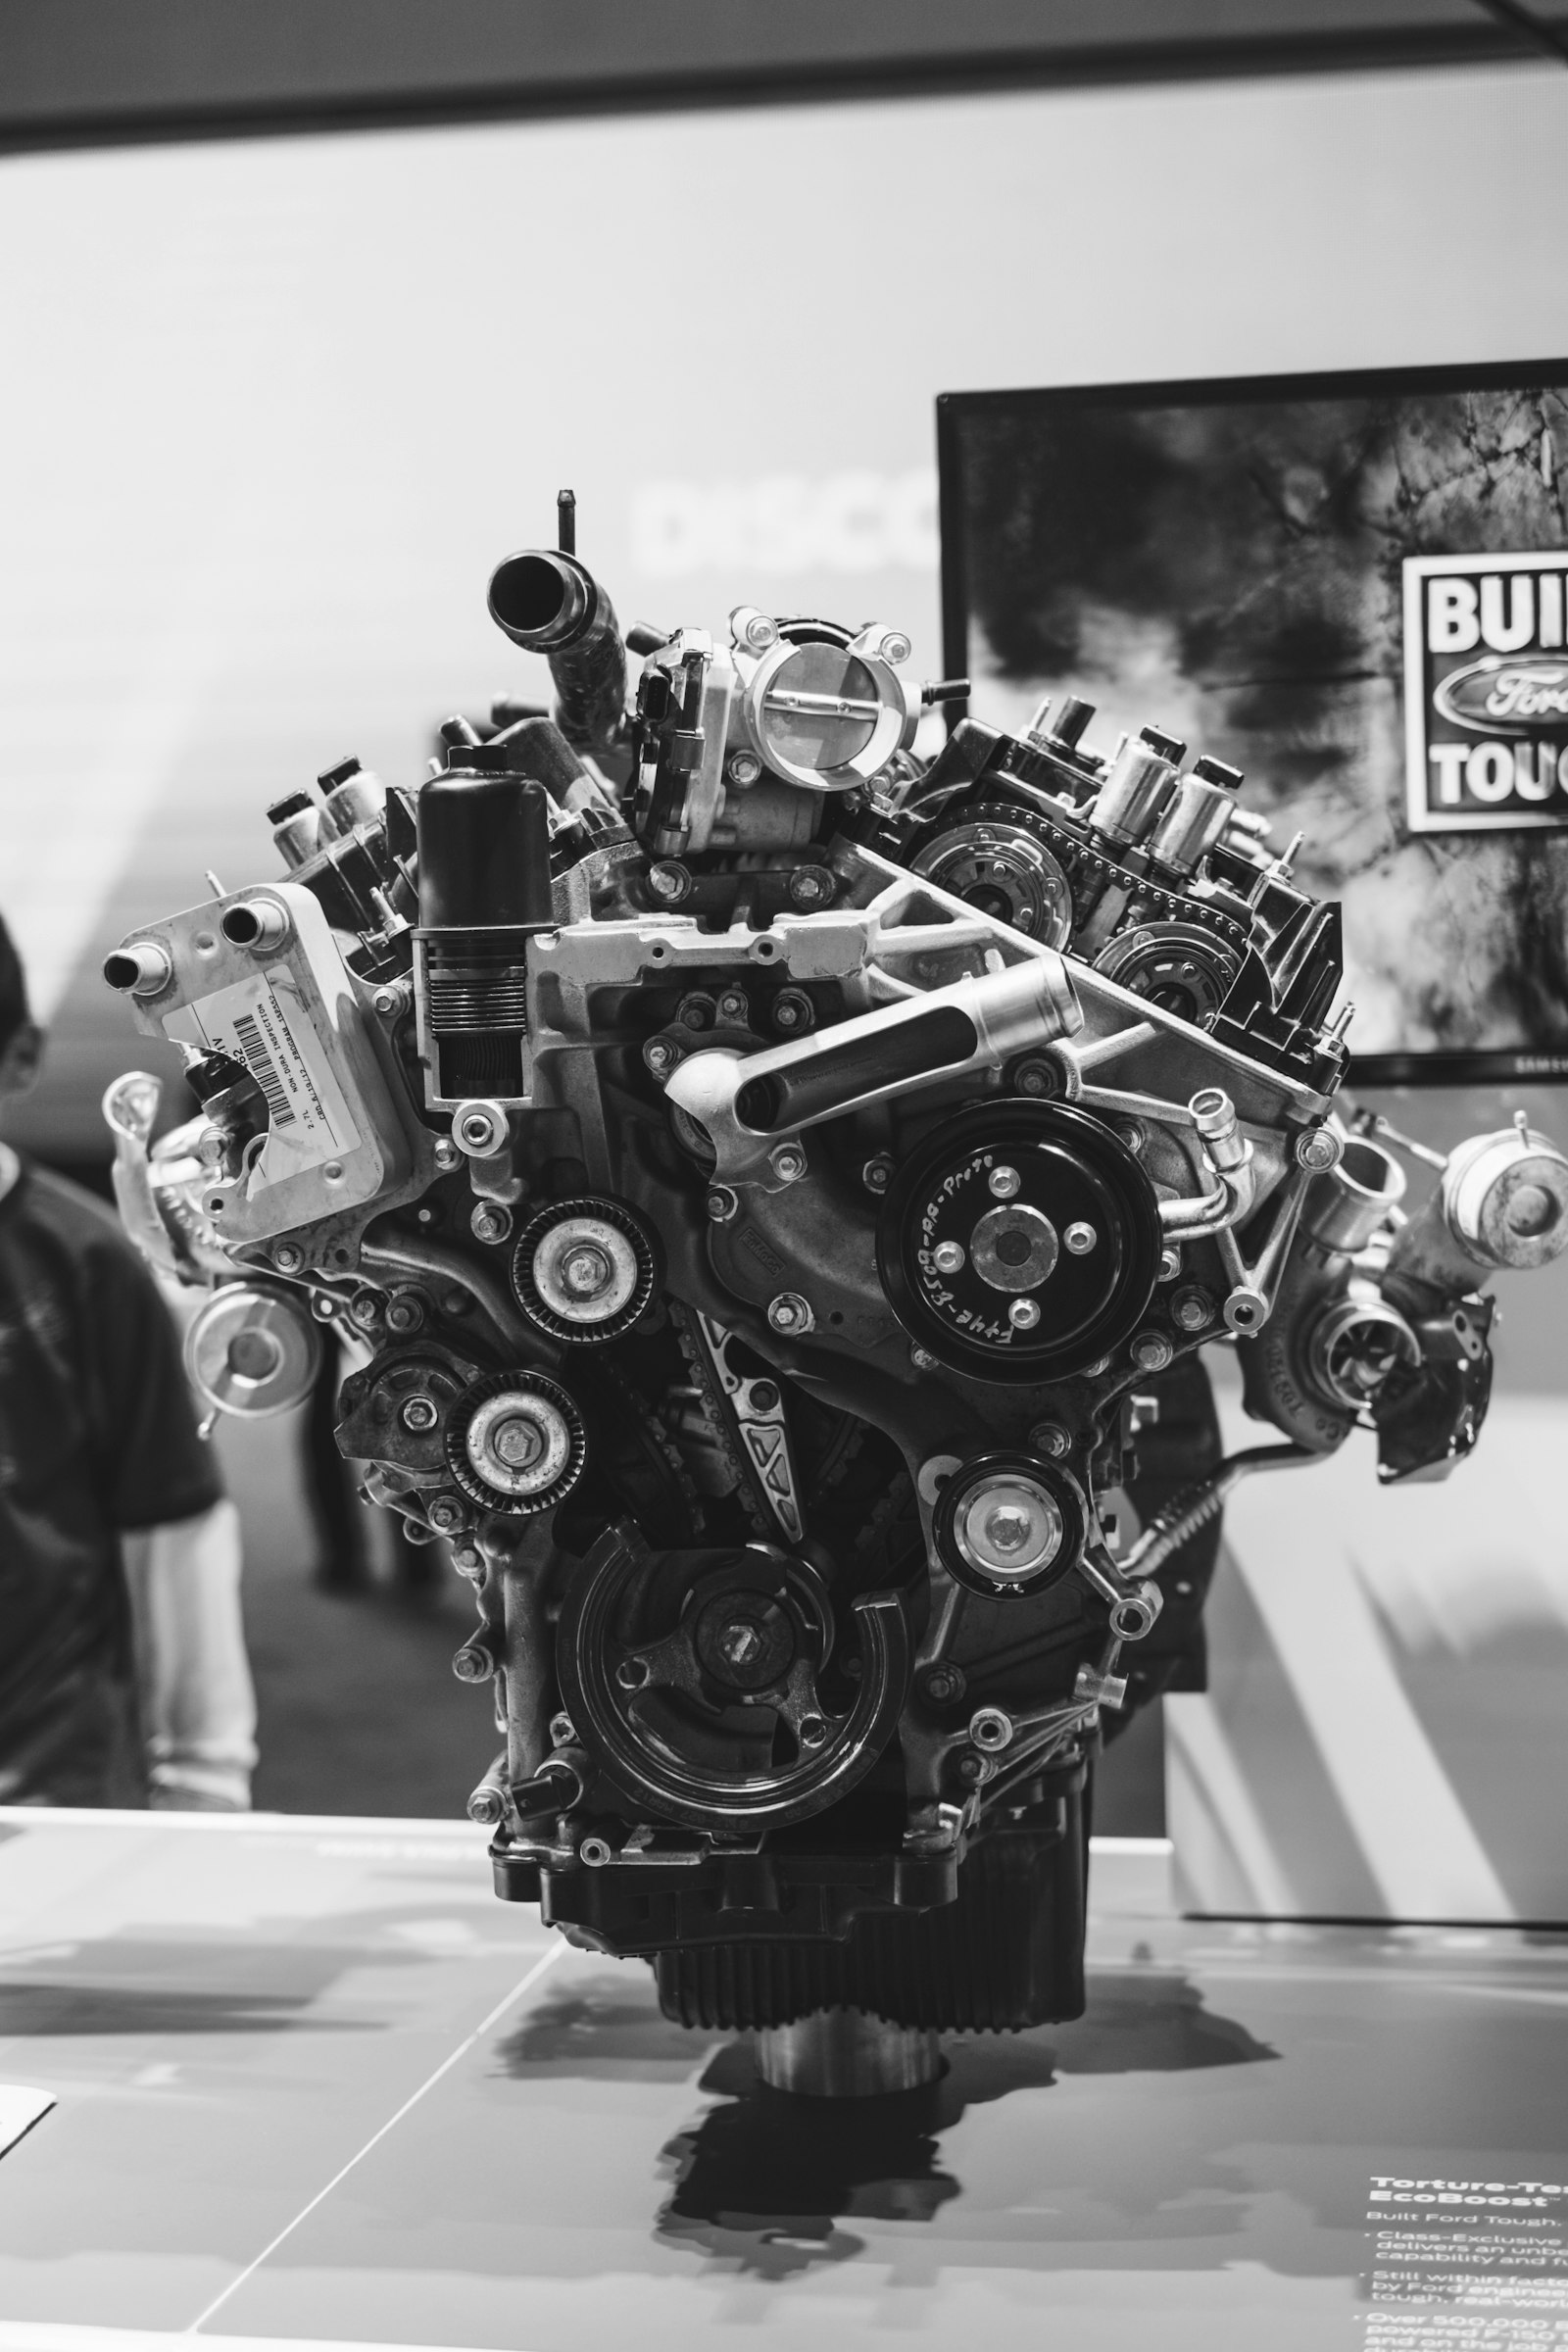
3D Printing in the Automotive Industry: Prototypes, End-Use Parts, and Spare Parts
In the automotive, marine, and rail industries, 3D printing has long outgrown its role as a prototyping tool alone – it is now used as a full production method whenever a precise part, custom tooling, or a hard-to-find spare part is needed quickly. For the transport sector, this shortens development cycles and reduces dependence on large-batch manufacturing.
Where 3D printing is used in the automotive industry
In practice, 3D printing is applied across several distinct situations in the transport sector:
- Prototyping. A prototype of a new assembly or housing can be produced in days rather than weeks, allowing fit, function, and aesthetics to be verified before investing in series production.
- Manufacturing aids. Jigs, fixtures, and assembly aids are often cheaper and faster to print as a custom tool than to machine.
- Small-batch original parts. When the batch is small and an injection mold would cost disproportionately more, 3D printing lets you produce exactly as many parts as needed, with no minimum order quantity.
- Spare parts for older or discontinued models. When the original part is no longer supplied and no drawings exist, it can be recreated through 3D scanning and reverse engineering.
- Customized components. Special interior or exterior solutions, tuning parts, unique brackets and housings.
Why 3D printing suits spare parts
The biggest advantage is that you no longer need to stock thousands of parts "just in case." A part is produced exactly when it is actually needed, even if only a single unit is required. This is especially relevant for older machinery, specialized equipment, or low-volume vehicles whose original manufacturer stopped supplying spare parts long ago.
Materials used
Depending on the part's function, the transport sector typically uses:
- Engineering plastics – for housings, brackets, and airflow guides where low weight matters.
- Metal (stainless steel, aluminum alloys) – for mechanically loaded parts and fasteners.
- Titanium alloys – for highly loaded, heat- or corrosion-resistant parts, where low weight needs to be combined with high strength.
- Rubber and TPU – for gaskets, damping elements, and flexible couplings.
For more on when 3D printing makes sense compared to traditional machining, see our article "3D Printing or CNC Milling: When to Choose Which".
A project tailored to you
Every vehicle part is different, so we can only provide an accurate solution and price once we've reviewed your specific case. Send us your model, drawing, or an old part through our order form, and we'll suggest the most suitable technology and material.
3D Printing Cost: What Determines the Price
One of the most common questions clients ask when contacting us about 3D printing services is — how much will it cost? There's no one-size-fits-all answer, because the final price depends on several factors that together determine the complexity of the project and the resources required.
What determines the price of 3D printing
- Printing technology — different technologies (FDM, SLA, SLS, etc.) come with different costs
- Layer height — a smaller layer height gives a smoother surface but takes longer to print; a larger layer height prints faster but leaves a rougher surface
- Printing speed — a slower speed produces a smoother surface but extends print time; a faster speed shortens print time but can affect surface quality
- Material — different materials vary significantly in price; see our overview of 3D printing materials to compare options
- Model size and volume — larger parts require more material and more print time
- Geometry complexity — intricate shapes, overhangs, and supports increase both print time and post-processing
- Print time — machine time is a direct cost factor, especially for larger or more detailed parts
- Additional post-processing — sanding, painting, assembly, or other finishing work adds to the total cost
- Quantity — printing multiple parts can reduce the per-unit cost
- Precision and tolerance requirements — tighter tolerances may require slower printing or additional finishing steps
- Equipment quality — professional-grade equipment ensures part accuracy relative to the CAD model, a smooth surface, and consistent, identical reproducibility across small-batch production, while also enabling complex geometries to be printed
How to reduce 3D printing costs
- Optimize the model's geometry to minimize material use and reduce the need for support structures
- Choose a material that fits the part's actual functional requirements rather than over-specifying
- Combine multiple parts into a single print run when possible
- Consider whether full precision is truly necessary for every feature of the part
When 3D printing makes sense
3D printing tends to be the most cost-effective option for prototypes, small production runs, and parts with complex geometries. If you're weighing it against other manufacturing methods, our comparison of 3D printing vs. CNC milling can help you decide which approach best fits your project.
Custom pricing
Every project is different, so the most accurate way to find out what your part will cost is to send us the details. Get in touch with us and we'll prepare an individual quote based on your model, material, and quantity.
3D Printing or CNC Milling: When to Choose Which
When planning the production of a part or a prototype, one question often comes up — should you choose 3D printing or CNC milling? Both technologies are widely used in industry, but each suits different situations. In this article we cover the main differences and help you decide which one fits your project.
What's the difference between the two technologies
3D printing is an additive process — the part is built up layer by layer from the chosen material, based on a 3D digital model. CNC milling, on the other hand, is a subtractive process — material is removed from a solid block using a rotating cutting tool until the desired shape is achieved. This fundamental difference shapes the strengths and limitations of each method.
When to choose 3D printing
- When the part has a complex geometry, internal channels, or organic shapes that would be difficult or impossible to machine
- When you need a prototype quickly and cost-effectively, without expensive tooling
- When only a small quantity of parts is required
- When you want to test multiple design iterations before committing to a final version — see our overview of 3D printing materials to choose the right one for your part
When to choose CNC milling
- When the part requires very tight tolerances and a high-precision surface finish
- When you need a part made from metal or another material better suited to machining
- When mechanical strength and durability are critical for the final application
- When producing larger batches where per-part cost matters more than setup time
Cost and lead time
Costs and lead times for both technologies depend on many factors — material, part size, geometry complexity, and quantity. We cover this in detail in our article on 3D printing cost — what determines the price. In general, 3D printing tends to be more cost-effective for prototypes and small batches, while CNC milling becomes more economical at larger volumes.
A combined solution
These two technologies don't have to compete — they're often used together. A part might be 3D printed for early-stage prototyping and design validation, then transitioned to CNC milling for final production once the design is confirmed. Combining both approaches lets you move faster while still ending up with a production-ready part.
Need advice?
Not sure which technology is right for your project? Get in touch with us and we'll help you choose the best solution based on your part's geometry, required quantity, and budget.
3D Scanning and Reverse Engineering in the Automotive, Marine, Furniture, and Mechanical Engineering Industries
In the automotive, marine, furniture, and mechanical engineering industries, professionals often face the same challenge – the need to recreate or refine a part for which drawings never existed or have long been lost. 3D scanning and reverse engineering make it possible to turn a physical object into a precise digital model that can be used for repair, manufacturing, or further design work.
Why these industries need 3D scanning and reverse engineering

Measuring complex mechanical assemblies or uniquely shaped parts with traditional tools is often inaccurate or simply impossible. 3D scanning makes it possible to:
- capture the precise geometry of an existing part in a short time, down to 0.025mm, even if its shape is complex or irregular;
- create a CAD model for a part whose drawings don't exist or no longer match its actual condition;
- verify that a manufactured or repaired part precisely meets requirements;
- prepare documentation for further design or production stages.
Automotive, marine, and furniture industries: use cases
In these fields, reverse engineering is most often used when:
- an old, discontinued automotive or marine part needs to be recreated because it can no longer be purchased on the market;
- when designing custom solutions, a new part needs to be precisely fitted to an existing structure;
- furniture manufacturing requires recreating a complex-shaped element based on an existing sample or an old piece;
- restoring historic vehicles or vessels (classic cars, boats), where it's important to preserve the original shape and proportions.
Mechanical engineering: recreating complex assemblies
Industrial equipment often uses parts whose manufacturer is long out of business, or which are simply no longer produced. In such cases, 3D scanning makes it possible to:
- scan a worn or broken part and use it to create a precise 3D model;
- check tolerances and contact surfaces so the new part fits the mechanism precisely;
- prepare the model for production – whether for 3D printing or traditional machining.
This helps shorten downtime when equipment failure depends on a single hard-to-find part.
How the process works
Depending on the size, shape, and required precision of the part, we select the most suitable scanning technology. The collected data is processed and converted into a CAD model that can be edited, checked against tolerances, and used for further design or production. If needed, the model is further adjusted to meet functional requirements, not just the visual shape of the original.
How we can help
If you're looking for a way to recreate a hard-to-find part, verify the accuracy of a manufactured part, or need a CAD model of an existing object with no available drawings, we can offer the most suitable 3D scanning and reverse engineering solution. Learn more about our services on our 3D scanning services page.
3D Scanning and Reverse Engineering in Architecture and Restoration
In architecture and restoration work, professionals often deal with things that were never documented – old buildings, ornaments, or details whose original drawings no longer exist. 3D scanning and reverse engineering make it possible to precisely capture the current condition and recreate lost or damaged elements, even when the only remaining source is the physical site or object itself.
Why 3D scanning is useful in architecture and restoration
Traditional manual measurements are time-consuming and often prone to inaccuracies, especially with complex shapes – moldings, sculptural details, non-standard façades, or structures that have warped over time.

3D scanning allows you to:
- capture the exact geometry of the current condition in a short time, even in hard-to-reach places;
- obtain data suitable for both documentation and further design work;
- detect deformations, settling, or damage that would go unnoticed with manual measurement;
- create a digital twin of the object that remains intact even if the physical object changes or deteriorates over time.
What can be scanned
3D scanning in architecture and restoration is used for objects of various scales – from entire rooms and façades to small decorative elements:

- building façades, interior spaces, and structural elements;
- moldings, cornices, ornaments, and other decorative details;
- sculptures and art objects;
- details of historic buildings that require a precise digital archive.
Reverse engineering: when drawings are missing or a part is damaged
In restoration projects, it is common to need to recreate an element whose original drawings have not survived, or to manufacture a missing part based on a remaining – often damaged – sample. In such cases, reverse engineering makes it possible to:
- scan the surviving (even partially damaged) part and use it to create a precise digital model;
- digitally reconstruct missing parts based on symmetry or analogous elements;
- prepare the model for production – whether it will be 3D printed or manufactured using traditional methods.
This is especially relevant when working with heritage objects, where every element must be recreated as accurately as possible while preserving its original form.
How the process works
Depending on the size of the object and the complexity of its shape, we select the most suitable scanning technology and equipment. The collected data is processed and converted into precise 3D geometry, which can be used for documentation as well as further design or production. If needed, missing or damaged parts are digitally reconstructed so that the final model matches the original design.
How we can help
If you are preparing documentation for a building or object, planning restoration work, or need to recreate a missing part based on an existing sample, we can offer the most suitable scanning and reverse engineering solution for your project. Learn more about our 3D scanning services on our 3D scanning services page.

Even Greater Capabilities with the Large-Format Form 3L SLA Printer!
3D printing is a rapidly evolving field, so we're constantly working to improve the quality of the services we provide. Among our latest 3D printing equipment additions is the Formlabs Form 3L, which runs on an enhanced dual-laser technology (Low Force Stereolithography).
One of the Form 3L's biggest advantages is its large build volume (335 x 200 x 300 mm), which allows us to print both large models and many small parts within a single project. What's more, the printed parts feature a smooth surface, fine detail, and sharp edges. On top of that, the printing process can be monitored remotely and requires no constant supervision. In other words, the Form 3L maintains ideal printing conditions even while running continuously, and can produce flawless-quality parts.
Learn more: https://bit.ly/37Iv8AT

Precision Metrological 3D Scanning Now Available at 3D Creative!
3D Creative is now the official provider of highly precise metrological Kreon 3D scanning services and an authorized equipment representative in the Baltic States.
Kreon was the first company to develop Blue Laser technology, which allows complex, glossy surfaces, as well as products of various shapes and colors, to be scanned without any additional preparation. What's more, our combination of a measuring arm and a 3D scanner ensures scanning accuracy of up to 9 µm!
Modern metrological 3D scanning allows us to precisely evaluate the size and shape of objects and carry out highly accurate measurements. We can now offer our clients advanced and highly effective solutions for CAD measurement analysis, reverse engineering, quality control, 3D measurements, and more.
Learn more about metrological 3D scanning: https://bit.ly/3D6gY7S